Introduction
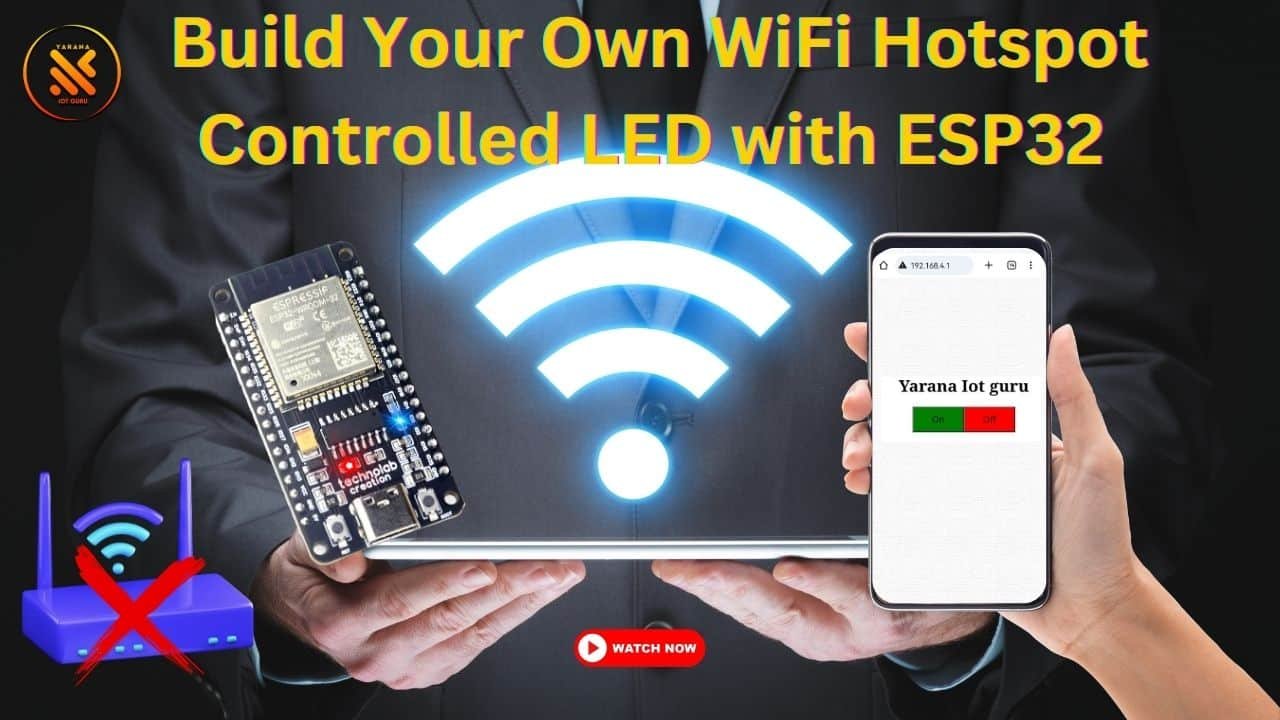
In this tutorial, we’ll explore a unique approach to building a home automation system using an ESP32 microcontroller. Unlike traditional setups that rely on external routers or Wi-Fi bridges, we’ll connect the ESP32 directly to a smartphone. This project opens up exciting possibilities for standalone IoT applications. We’ll guide you through the process of setting up the hardware, writing the code, and controlling your home devices via a web interface.

Prerequisites
Before we begin, ensure you have the following:
- An ESP32 microcontroller board.
- Arduino IDE installed on your computer.
- A USB cable for programming the ESP32.
- A smartphone with Wi-Fi capability.
- Basic knowledge of Arduino programming and electronics.
Hardware Setup
- Connect an LED to pin 2 of your ESP32. Connect the anode (longer lead) to pin 2 and the cathode (shorter lead) to ground, typically labeled as GND on your ESP32 board.
Arduino Code

Here’s the Arduino code to set up a web server on your ESP32 and control the LED:
#include <WiFi.h>
#include <WebServer.h>

const char *ssid = "ESP32-Hotspot"; // Hotspot SSID
const char *password = "password";  // Hotspot Password
const int ledPin = 2;              // Pin number for the LED

WebServer server(80);

void setup() {
  // Initialize Serial communication
  Serial.begin(115200);

  // Create a WiFi hotspot
  WiFi.softAP(ssid, password);

  // Print the ESP32 IP address
  Serial.print("Hotspot IP address: ");
  Serial.println(WiFi.softAPIP());

  // Define the web server routes
  server.on("/", HTTP_GET, handleRoot);
  server.on("/on", HTTP_GET, handleOn);
  server.on("/off", HTTP_GET, handleOff);

  // Initialize the LED pin as an output
  pinMode(ledPin, OUTPUT);

  // Start the web server
  server.begin();
}

void loop() {
  // Handle client requests
  server.handleClient();
}

void handleRoot() {
  String html = "<html><head>";
  html += "<style>";
  html += "body { text-align: center; }";
  html += "button { width: 100px; height: 50px; font-size: 18px; }";
  html += "</style>";
  html += "<script>";
  html += "function sendRequest(action) {";
  html += "  var xhttp = new XMLHttpRequest();";
  html += "  xhttp.open('GET', '/' + action, true);";
  html += "  xhttp.send();";
  html += "}";
  html += "</script>";
  html += "</head><body>";
  html += "<h1>Your Home Automation</h1>";
  html += "<button onclick='sendRequest(\"on\");' style='background-color: green'>On</button>";
  html += "<button onclick='sendRequest(\"off\");' style='background-color: red'>Off</button>";
  html += "</body></html>";
  server.send(200, "text/html", html);
}

void handleOn() {
  // Turn on the LED
  digitalWrite(ledPin, HIGH);

  // Send response to the client
  server.send(200, "text/plain", "LED turned on");
}

void handleOff() {
  // Turn off the LED
  digitalWrite(ledPin, LOW);

  // Send response to the client
  server.send(200, "text/plain", "LED turned off");
}1
Explanation
- We create a Wi-Fi hotspot on the ESP32, allowing your phone to connect directly to it.
- A simple web server is set up using the WebServer library. It defines three routes:
/,/on, and/off. - When you access the ESP32’s IP address in a web browser, it displays a webpage with “On” and “Off” buttons to control the LED.
- JavaScript functions are used to send requests to the server when you click the buttons, which trigger the
handleOnandhandleOfffunctions to turn the LED on and off, respectively.
Uploading the Code
- Open the Arduino IDE and make sure you have the ESP32 board support installed.
- Copy and paste the provided code into the Arduino IDE.
- Select your ESP32 board and port from the Tools menu.

- Click the Upload button to upload the code to your ESP32.
Testing the Setup
- Power up your ESP32.
- On your smartphone, go to Wi-Fi settings and connect to the “ESP32-Hotspot” network using the password “password.”
- Open a web browser and enter the IP address displayed on the ESP32’s Serial Monitor.
- You should see the web interface with “On” and “Off” buttons. Click these buttons to control the LED.

Congratulations! You’ve successfully created a home automation system that directly connects your ESP32 to your phone. This unique setup eliminates the need for external routers or bridges, making it a versatile solution for IoT projects. Feel free to expand on this project by adding more devices and functionalities. Happy tinkering!


