Introduction:
Welcome to Yarana IoT Guru! Today, we’ll dive into an exciting project – creating your own “Motion Detection System” to enhance the security of your home. Let’s get started!
Chapter 1: What is a Motion Detection System?
A Motion Detection System is a technology that alerts you whenever movement is detected in a specific area. This system is commonly used for security purposes, providing immediate notifications when unauthorized access is attempted.
Chapter 2: Components Required:
To build this project, you’ll need some basic components:
- PIR Sensor: Detects motion.
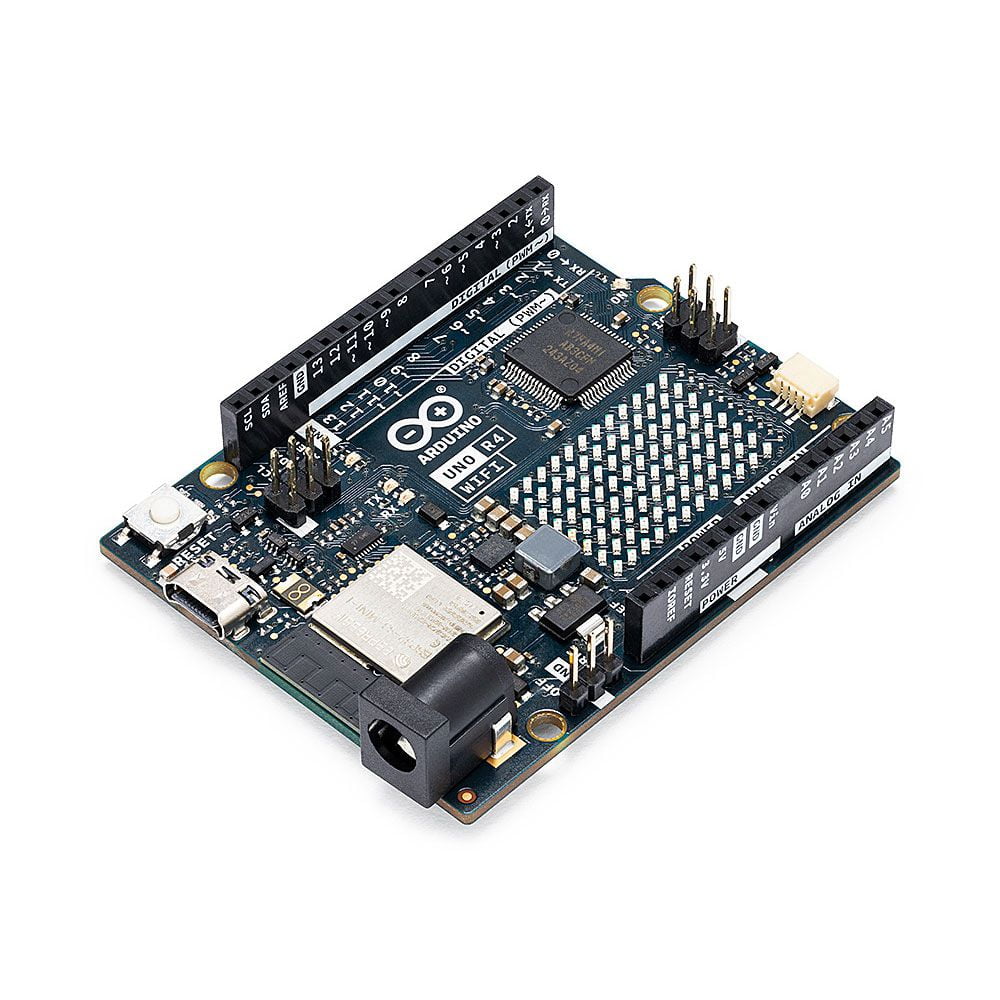
- Arduino Board: Controls and coordinates the connected sensors.
- Buzzer: Generates an audible alarm upon motion detection.
- LED Lights: Provides a visual alert.
- Jumper Wires: Connects the components.
Chapter 3: Circuit Connection:
Now, let’s connect the components. Follow the circuit diagram provided below:

Chapter 4: Arduino Code:
Next, we need to write the Arduino code. This code monitors the PIR sensor for motion and activates the buzzer and lights upon detection. Copy the code below into your Arduino IDE:
// Define the pin for PIR sensor
int pirPin = 2;

// Define the pin for the buzzer
int buzzerPin = 3;

// Define the pin for the LED lights
int lightPin = 4;

void setup() {
  // Set PIR pin as input
  pinMode(pirPin, INPUT);

  // Set buzzer pin as output
  pinMode(buzzerPin, OUTPUT);

  // Set light pin as output
  pinMode(lightPin, OUTPUT);

  // Initialize Serial communication for debugging
  Serial.begin(9600);
}

void loop() {
  // Read the state of the PIR sensor
  int pirState = digitalRead(pirPin);

  // Check if motion is detected
  if (pirState == HIGH) {
    Serial.println("Motion detected!");

    // Turn on the buzzer and light
    digitalWrite(buzzerPin, HIGH);
    digitalWrite(lightPin, HIGH);
    delay(1000); // Adjust the delay based on your preference

    // Turn off the buzzer and light
    digitalWrite(buzzerPin, LOW);
    digitalWrite(lightPin, LOW);
  } else {
    Serial.println("No motion");
  }

  delay(500); // Adjust the delay based on your preference
}
Chapter 5: Testing Your Motion Detection System:
Your circuit is now ready, and the code has been written. Test your project to ensure that the motion detection is functioning correctly.
Chapter 6: Further Customizations:
Feel free to customize your project further, such as adding email alerts, integrating cameras, or receiving mobile app notifications. Yarana IoT Guru offers more advanced tutorials on these topics.
Conclusion:
Congratulations! You’ve successfully created a motion detection system for your home. Stay tuned to Yarana IoT Guru for more interesting projects and tutorials. Explore and keep building!


