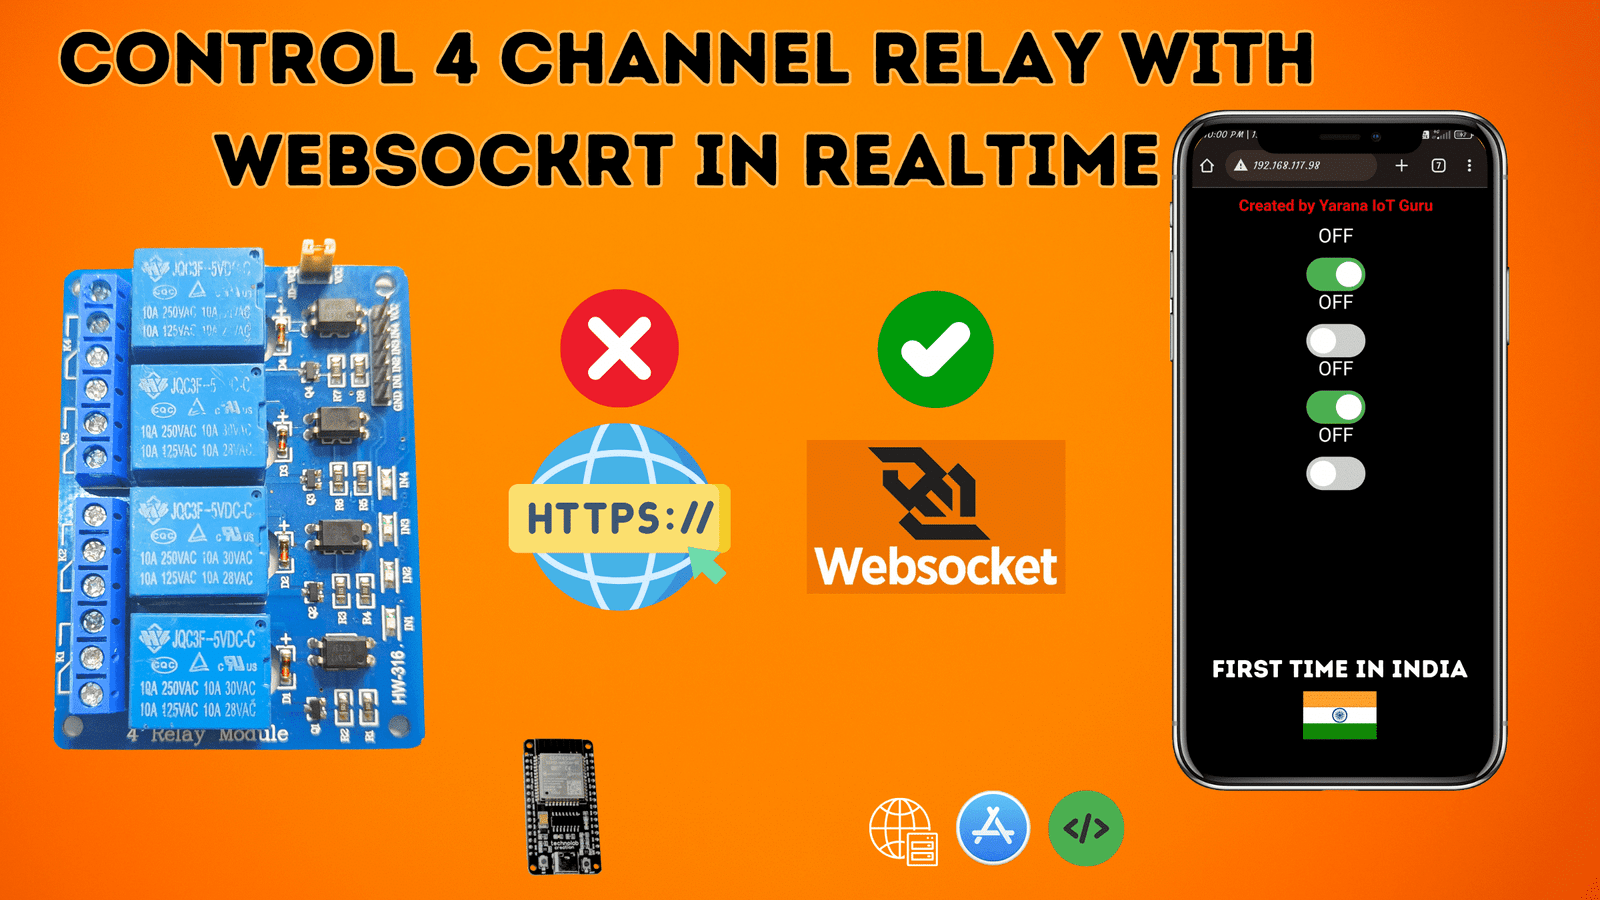
Welcome to Yarana IoT Guru, where we delve into the world of cutting-edge smart home solutions! In this comprehensive guide, we’ll walk you through the step-by-step process of creating a sophisticated home automation system using the ESP32 microcontroller. By the end of this project, you’ll have a fully functional 4-channel relay web server with WebSocket integration, allowing you to control and monitor your home appliances with ease.
Step 1: Gather Your Components
- ESP32 Microcontroller
- 4-Channel Relay Module
- Power Supply
- Jumper Wires
- Breadboard (optional)
- USB Cable (for programming)
Step 2: Set Up Your Workspace
- Ensure you have a well-lit and clutter-free workspace.
- Gather all your components and tools within reach.
- Prepare your computer with the necessary software, such as the Arduino IDE.
Step 3: Connect the Hardware
- Connect the ESP32 microcontroller to your computer using the USB cable.
- Wire the 4-channel relay module to the ESP32 according to the pinout diagram or manufacturer’s instructions.
- Double-check all connections to ensure they are secure and correct.

Step 4: Install Required Libraries
- Open the Arduino IDE on your computer.
- Install the necessary libraries for ESP32, WebSocket, and AsyncWebServer.
- Verify that the libraries are installed correctly by checking the Library Manager.
Step 5: Upload the Code
- Copy the provided Arduino sketch into your Arduino IDE.
- Update the Wi-Fi credentials (SSID and password) in the code to match your network.
- Connect your ESP32 board to your computer and select the correct board and port in the Arduino IDE.
- Upload the code to your ESP32 board.


Step 6: Access the Web Interface
- Once the code is uploaded successfully, disconnect the ESP32 from your computer and power it using an external power supply.
- Connect your computer or smartphone to the same Wi-Fi network as the ESP32.
- Open a web browser and enter the IP address of your ESP32 (displayed in the Serial Monitor) to access the web interface.
Step 7: Control Your Appliances
- You should now see the web interface with toggle buttons for each relay.
- Click on the buttons to toggle the relays on and off, and observe the real-time status updates.
- Test the functionality by connecting your appliances to the relay module and verifying that they respond correctly to the commands.
Step 8: Enjoy Your Smart Home
- Congratulations! You’ve successfully built a 4-channel relay web server with WebSocket integration using the ESP32 microcontroller.
- Explore further customization options, such as adding additional features or integrating with other smart devices.
- Embrace the convenience and efficiency of smart home automation and continue to innovate with Yarana IoT Guru!

Now, sit back, relax, and enjoy the convenience of controlling your home appliances with just a few clicks, courtesy of your newly created ESP32-based smart home automation system. Welcome to the future of home living with Yarana IoT Guru!


