
Home automation is no longer a futuristic concept; it’s a present-day reality. With the advent of IoT (Internet of Things) and cloud computing, creating your own smart home has become easier than ever. In this post, we’ll walk you through the process of creating a custom web dashboard for home automation using Firebase. This guide will provide detailed steps to help you build a functional and user-friendly IoT cloud system that you can control from anywhere.
Table of Contents
- Introduction to Home Automation and IoT
- What is Firebase?
- Setting Up Firebase
- Creating Your IoT Devices
- Connecting Devices to Firebase
- Building the Web Dashboard
- Integrating Firebase with the Web Dashboard
- Testing and Deployment
- Conclusion
1. Introduction to Home Automation and IoT
Home automation involves using technology to control various household systems such as lighting, heating, and security. IoT is the backbone of home automation, connecting devices to the internet and enabling them to communicate with each other.
Benefits of Home Automation
- Convenience: Control home devices remotely.
- Energy Efficiency: Automate lighting and heating to save energy.
- Security: Monitor and control security systems from anywhere.
2. What is Firebase?
Firebase is a platform developed by Google for creating mobile and web applications. It offers a variety of tools such as real-time databases, authentication, cloud storage, and hosting. Firebase is ideal for IoT projects because of its real-time data synchronization capabilities.
Key Features of Firebase
- Real-time Database: Sync data across all clients in real-time.
- Authentication: Securely authenticate users.
- Cloud Firestore: Flexible, scalable database for mobile, web, and server development.
- Hosting: Fast and secure web hosting for your web app.
3. Setting Up Firebase
To get started, you need to set up a Firebase project.
Step-by-Step Guide to Setting Up Firebase
- Create a Firebase Project:
- Go to the Firebase Console.
- Click on “Add project”.
- Enter your project name and follow the on-screen instructions.
- Add Firebase to Your Web App:
- In the Firebase Console, go to the Project Overview.
- Click on the web icon to add Firebase to your web app.
- Register your app and copy the Firebase configuration code.
- Enable Authentication:
- Go to the Authentication section in the Firebase Console.
- Set up sign-in methods (e.g., Email/Password).
- Set Up Firestore Database:
- Navigate to the Firestore Database section.
- Create a new database and set up your data structure.
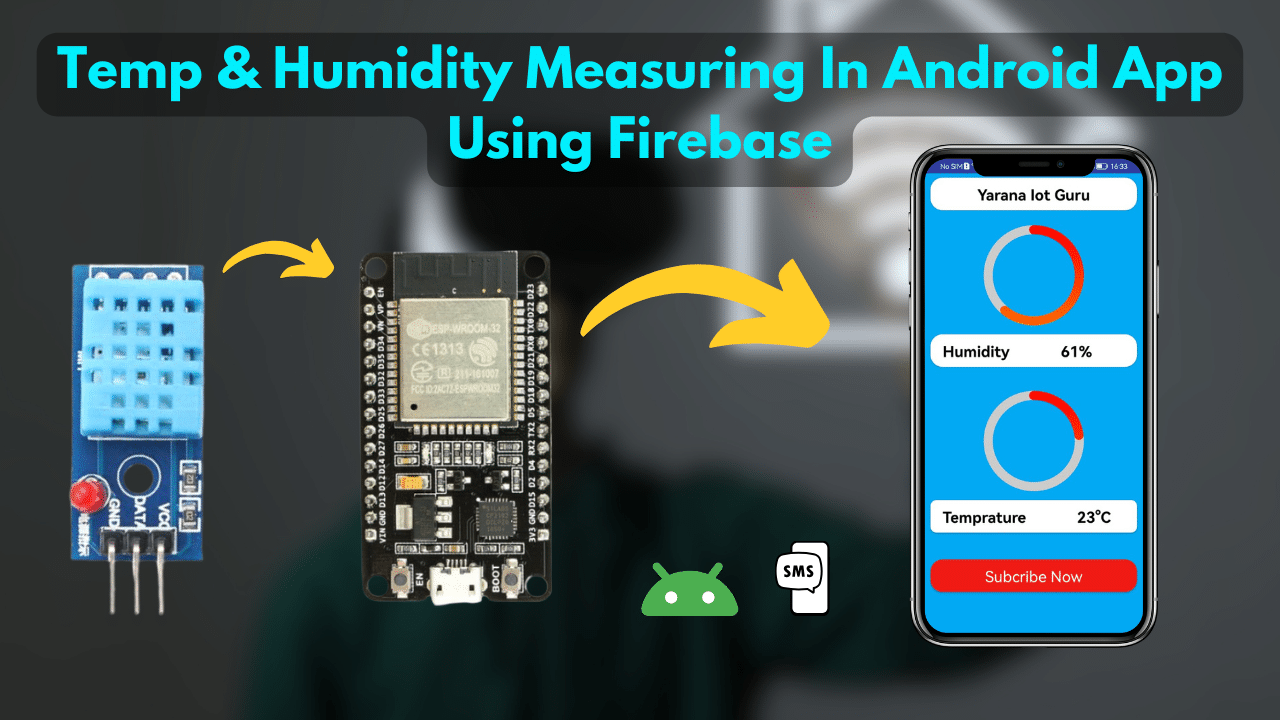
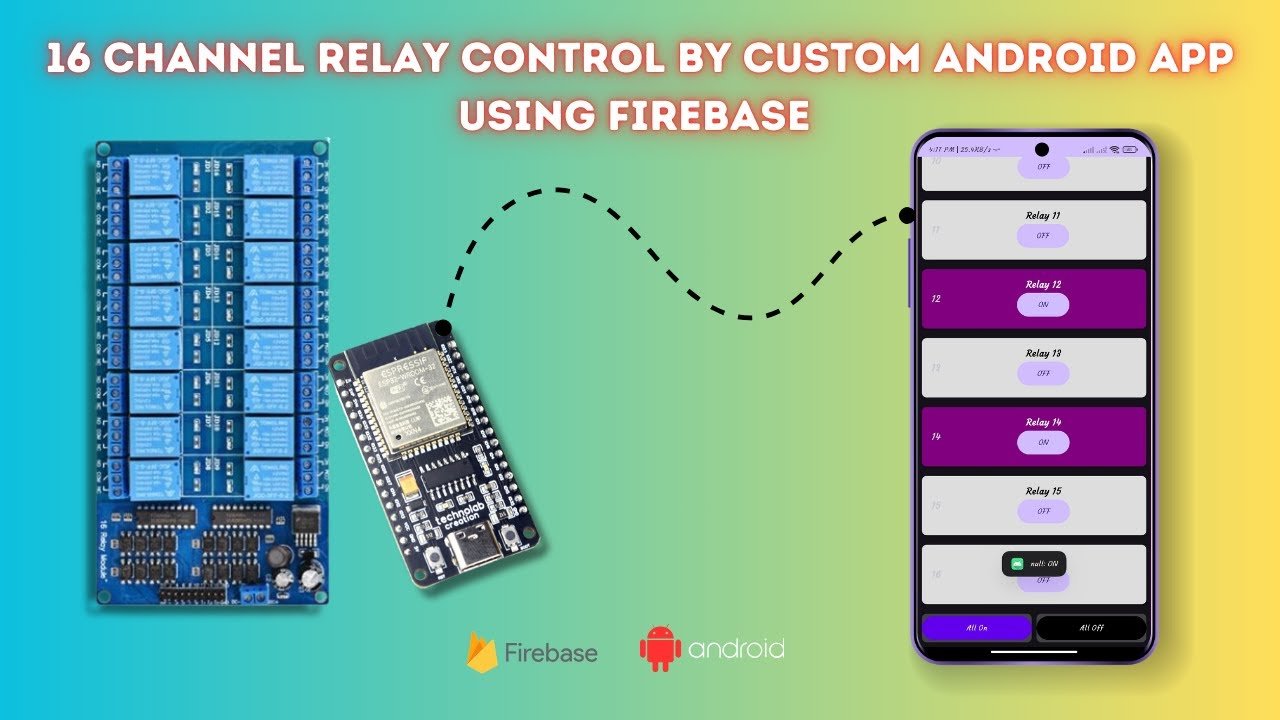
4. Creating Your IoT Devices
For this project, you’ll need some IoT devices such as microcontrollers (e.g., ESP8266 or ESP32) and sensors (e.g., temperature, humidity, or motion sensors).
Configuring IoT Devices
- Set Up the Development Environment:
- Install the Arduino IDE.
- Add the ESP8266 or ESP32 board to the Arduino IDE.
- Write the Firmware:
- Write code to read sensor data and send it to Firebase.
- Use Firebase libraries to facilitate communication between your device and Firebase.
5. Connecting Devices to Firebase
Steps to Connect IoT Devices to Firebase
- Install Firebase Library:
- Install the Firebase library for Arduino from the Library Manager in the Arduino IDE.
- Configure WiFi and Firebase:
- Set up your WiFi credentials and Firebase project details in the firmware.
- Upload the Firmware:
- Upload the firmware to your IoT devices using the Arduino IDE.
6. Building the Web Dashboard
A web dashboard allows you to monitor and control your IoT devices from a central interface.
Tools and Technologies
- HTML/CSS: For the structure and styling of the dashboard.
- JavaScript: For dynamic content and interactivity.
- Firebase SDK: For integrating Firebase with your web app.
Creating the Dashboard
- Set Up Your Project:
- Create a new project directory.
- Add HTML, CSS, and JavaScript files.
- HTML Structure:
- Create a basic HTML structure for your dashboard.
- CSS Styling:
- Style your dashboard using CSS.
- JavaScript for Firebase Integration:
- Add the Firebase configuration and functions to interact with your database.
7. Integrating Firebase with the Web Dashboard
Real-Time Data Sync
- Real-time Database: Firebase’s real-time database updates your web dashboard instantly when your IoT devices send new data.
Authentication
- User Authentication: Secure your dashboard by enabling Firebase Authentication to ensure that only authorized users can access and control your IoT devices.
8. Testing and Deployment
Testing
- Local Testing: Test your dashboard locally by running a local server and checking the real-time updates from your IoT devices.
- Debugging: Use browser developer tools to debug any issues with the web dashboard.
Deployment
- Firebase Hosting: Deploy your web dashboard to Firebase Hosting for fast and secure access.
- Custom Domain: Connect your custom domain to Firebase Hosting.
9. Conclusion
Creating a home automation system with a custom web dashboard using Firebase is a powerful and rewarding project. With Firebase, you can leverage real-time data synchronization, secure authentication, and easy deployment. This guide has walked you through the essential steps to set up your IoT devices, connect them to Firebase, and build a functional web dashboard. With these skills, you can expand your home automation system to include more devices and features, making your home smarter and more efficient.

I want code bro
alredy given in this post please check carefully