In today’s era of the Internet of Things (IoT), smart home automation has become one of the most trending and useful applications of embedded systems. With just a smartphone, you can now control lights, fans, AC, and other home appliances from anywhere in the world 🌍.
In this project, we’ll build a complete Smart Home Automation System using the ESP32 microcontroller and the Blynk IoT app. This system will allow you to control multiple home appliances through Wi-Fi using the Blynk mobile app.
It’s an easy and powerful way to understand how IoT works — from cloud control to mobile dashboards — and it’s perfect for students, hobbyists, and IoT beginners.
⚙️ What You’ll Learn in This Project
By the end of this tutorial, you’ll understand:
- How to connect and program the ESP32 with Blynk IoT Cloud.
- How to control LEDs, relays, or other appliances from your mobile phone.
- How to monitor sensor data (like temperature, humidity, etc.) on the Blynk dashboard.
- How to expand your system with schedules, automation, and notifications.
🧠 Why We’re Using ESP32 and Blynk
- ESP32 is a low-cost microcontroller with built-in Wi-Fi and Bluetooth, perfect for IoT applications.
- Blynk is a user-friendly IoT platform that helps you build apps to control hardware remotely, display sensor data, and receive notifications — no complex coding or server setup needed.
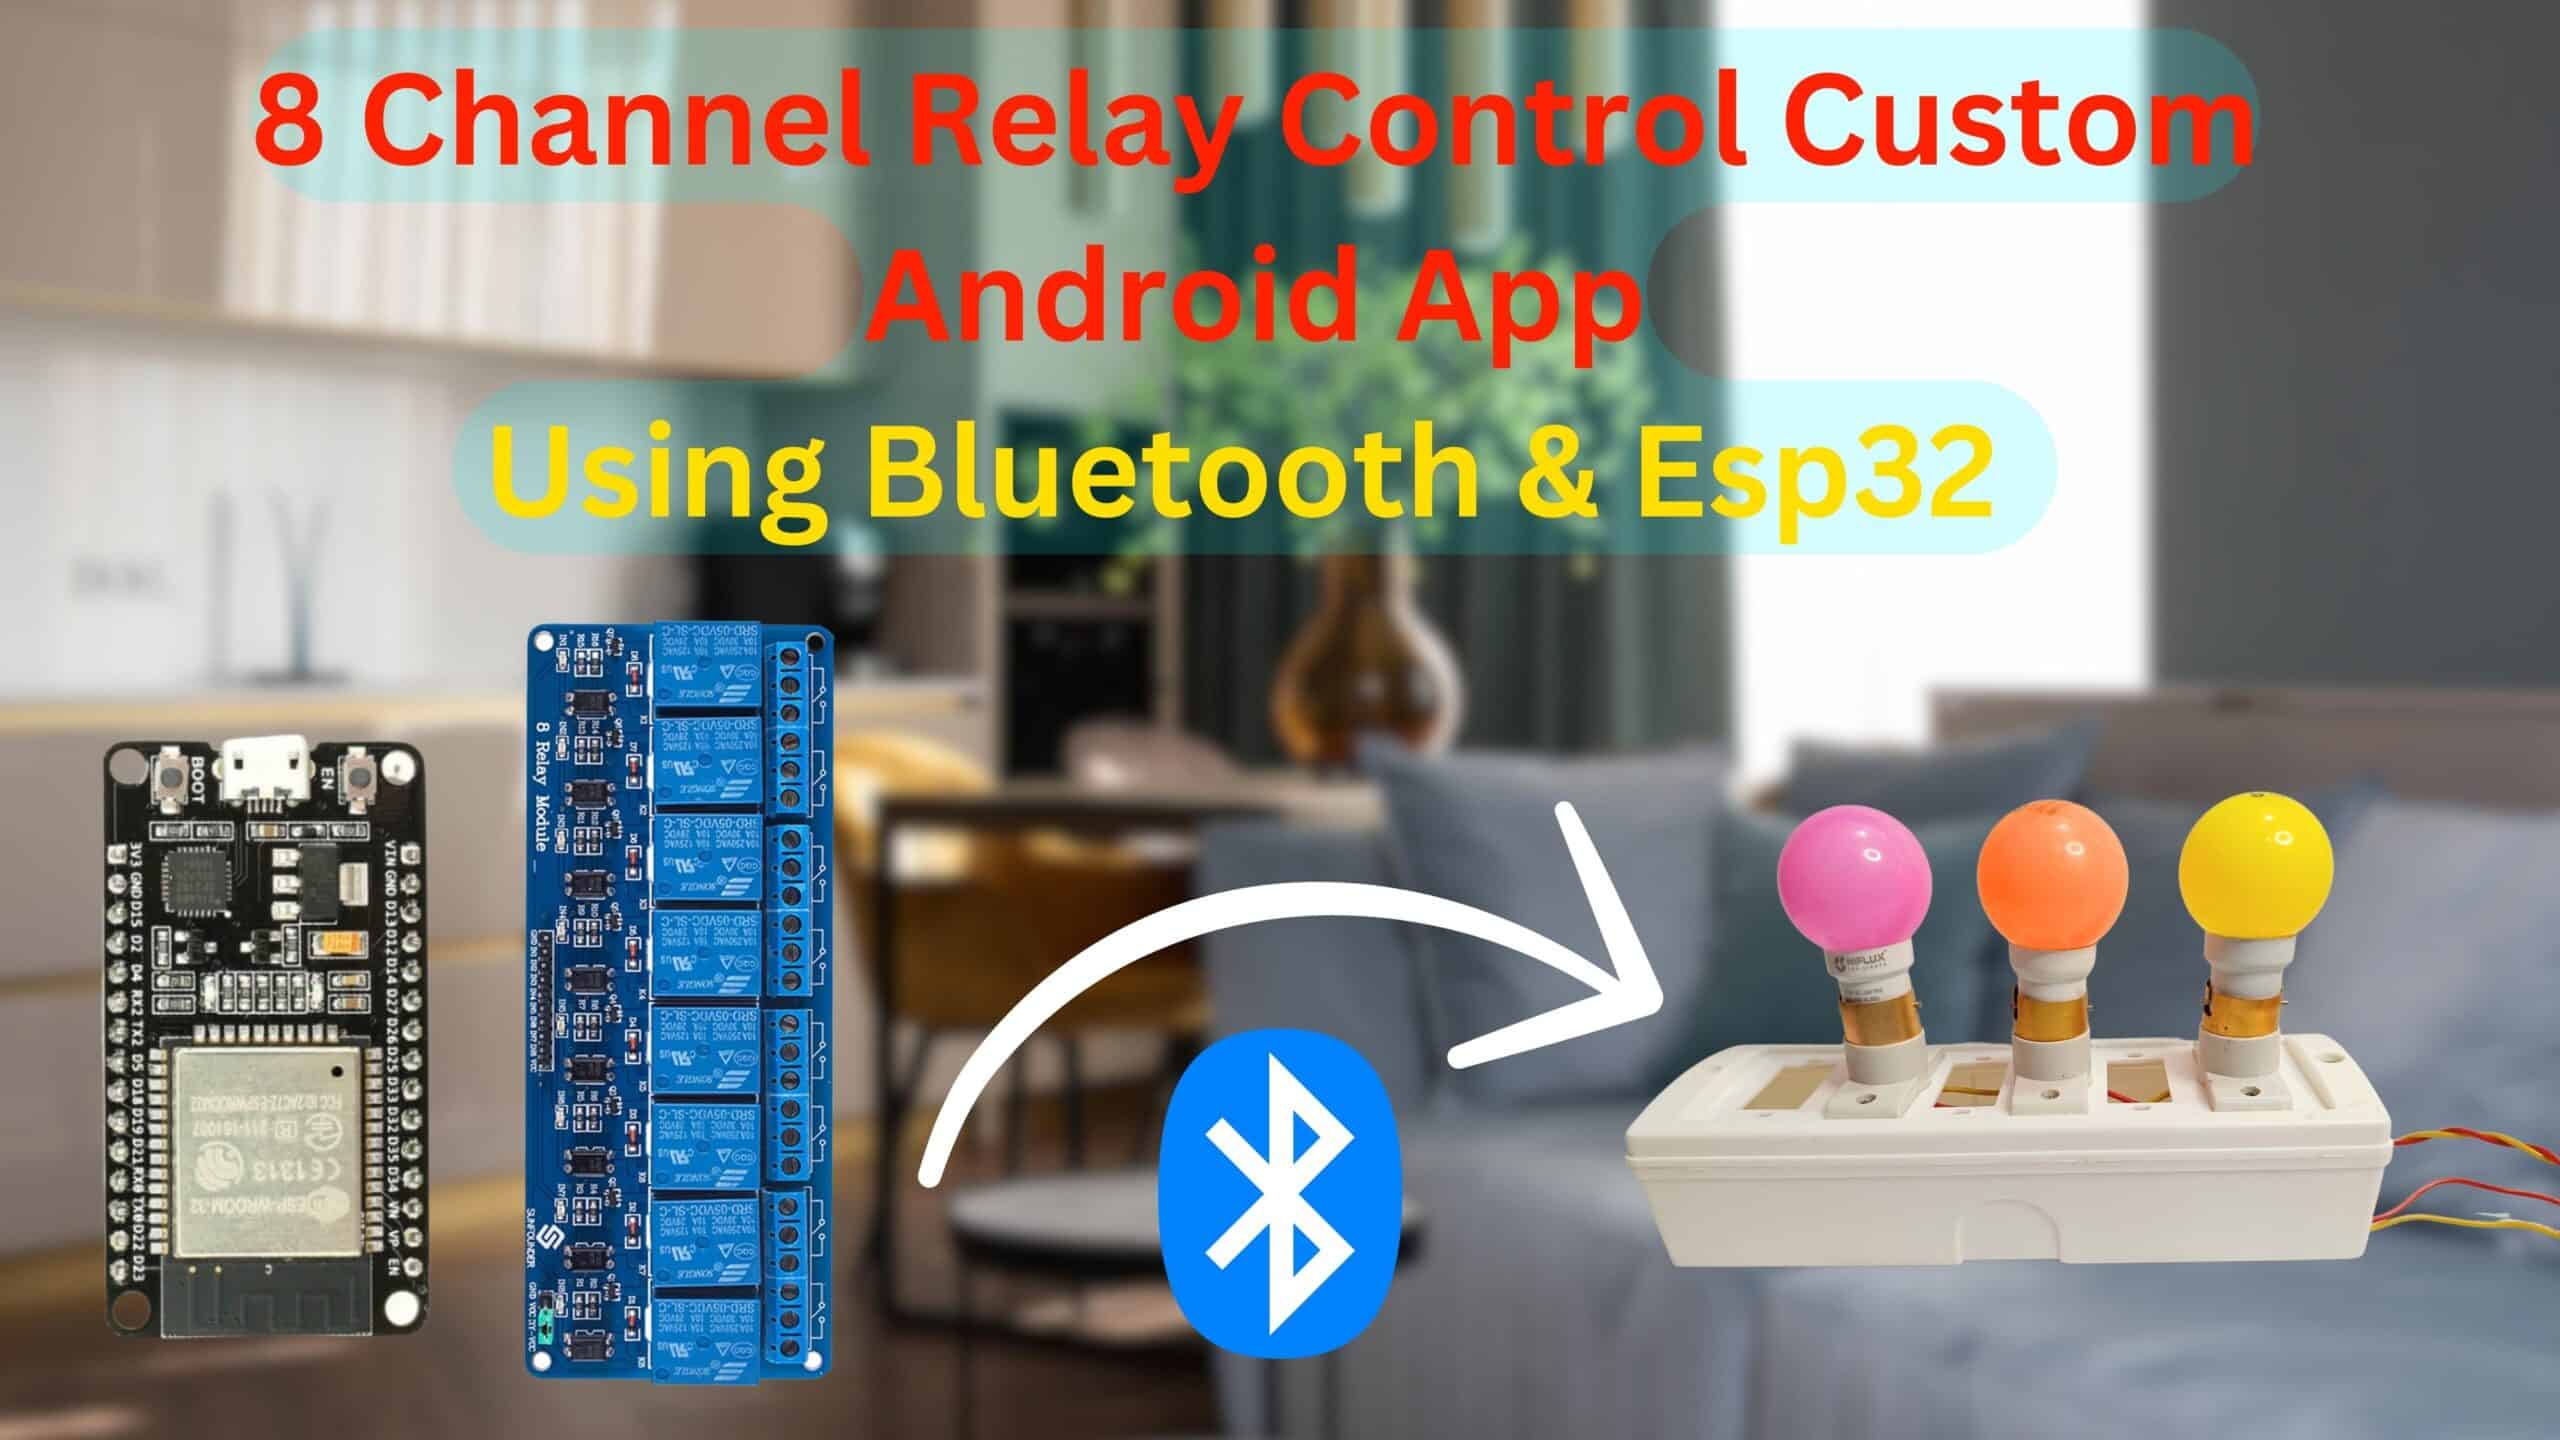
🧰 Components Required
| Component | Quantity | Description |
|---|---|---|
| ESP32 Development Board | 1 | Main microcontroller with Wi-Fi |
| Relay Module (1–4 Channel) | 1 | To control AC appliances |
| LED | 1–2 | For testing outputs |
| DHT11 / DHT22 Sensor | 1 | To monitor temperature & humidity |
| Jumper Wires | As required | For connections |
| Power Supply 5V | 1 | For ESP32 and relay module |
| Smartphone with Blynk App | 1 | To control devices remotely |
💡 System Overview
The system works like this:
- The ESP32 connects to your home Wi-Fi network.
- It communicates with the Blynk IoT Cloud.
- Using the Blynk App, you can send commands (like ON/OFF) to control devices.
- The ESP32 processes these commands and activates the relay, controlling your home appliances.
In addition, the ESP32 can also read sensor data (like temperature, humidity, or motion) and send it back to the Blynk App for monitoring.
🌐 Project Workflow
- Connect ESP32 to Wi-Fi.
- Configure Blynk IoT Cloud Project.
- Write Arduino Code for ESP32 with Blynk integration.
- Connect hardware components (relay, LED, DHT11, etc.).
- Upload code, test control and monitoring functions.
⚙️ Step 1: Circuit Design Overview
The basic idea is simple — your ESP32 acts as a controller and communicates with the Blynk Cloud over Wi-Fi.
When you press a button on the Blynk mobile app, a digital signal is sent from the cloud to your ESP32.
The ESP32 then activates or deactivates the relay module, turning ON or OFF the connected electrical device.
Here’s a simple explanation of the hardware connections 👇
| Component | ESP32 Pin | Description |
|---|---|---|
| Relay 1 (Light) | D23 | Controls Light |
| Relay 2 (Fan) | D22 | Controls Fan |
| Relay 3 (Socket) | D21 | Controls Power Outlet |
| LED Indicator | D2 | Status Indicator |
| DHT11 Sensor | D4 | Temperature & Humidity Sensor |
| VCC | 5V | Power Supply |
| GND | GND | Common Ground |
🧩 Relay Module Working
A relay module acts like an electronic switch.
It uses a small input signal (from the ESP32 GPIO pin) to control a larger load (like a bulb or fan).
- When the GPIO pin outputs HIGH, the relay activates and connects the AC circuit.
- When it’s LOW, the circuit disconnects, turning off the appliance.
💡 Safety Note: Always use a properly rated relay module and avoid direct contact with AC lines while testing.
⚡ Step 2: Blynk IoT App Setup
Now, let’s configure the Blynk App for our project.
- Download the Blynk IoT App
- Available for both Android and iOS.
- Sign in using your Google or Apple ID.
- Create a New Template
- Go to Web Dashboard / App Dashboard.
- Click New Template.
- Set:
- Template Name: Smart Home with ESP32
- Hardware: ESP32
- Connection Type: Wi-Fi
- Datastreams: Add new virtual pins for each device.
- Create Datastreams
- V1 → Relay 1 (Light)
- V2 → Relay 2 (Fan)
- V3 → Relay 3 (Socket)
- V4 → LED Indicator
- V5 → Temperature
- V6 → Humidity
- Save and Generate the Auth Token
- Once your template is ready, Blynk will generate an Auth Token.
- Copy it — you’ll need it later in your Arduino code.
📱 Step 3: Blynk Mobile Dashboard Setup
Now, design your dashboard layout in the Blynk Mobile App.
- Add Buttons for each relay:
- Button 1: Light (Virtual Pin V1)
- Button 2: Fan (Virtual Pin V2)
- Button 3: Socket (Virtual Pin V3)
- Add LED Widget for status (V4)
- Add Gauge or Label Widget for displaying temperature and humidity (V5, V6)
Make sure all widgets are linked to the correct Virtual Pins.
⚙️ Step 4: Power Supply Connection
The ESP32 and Relay Module both require a 5V power source.
You can use:
- Your PC USB port (for development)
- A 5V DC adapter
- Or a regulated power supply
Ensure all grounds (GND) are connected together to maintain proper logic reference.
💡 Step 5: Testing the Connections
- Upload a simple relay test code to verify that the hardware is working.
- Press each button on the Blynk app.
- The relay should click, turning your light or fan ON/OFF.
- If using DHT11, verify that the temperature and humidity readings appear on the Blynk dashboard.
🧠 Common Mistakes to Avoid
- ❌ Wrong pin mapping — double-check ESP32 GPIO pins in your code.
- ⚠️ Forgetting to add “Wi-Fi + Auth Token” — Blynk won’t connect.
- ⚡ Power issues — use a 5V/2A adapter for multiple relays.
- 💤 Slow response — ensure your Wi-Fi connection is stable.
With the circuit ready and Blynk dashboard configured, it’s time to move to the exciting part — writing the complete ESP32 code for your Smart Home Automation System.
⚙️ Step 1: Install Required Libraries
Before writing the code, open your Arduino IDE and make sure you have the following libraries installed:
- Blynk → (Install from Library Manager: “Blynk by Volodymyr Shymanskyy”)
- WiFi.h → Comes pre-installed with the ESP32 board package.
- DHT sensor library → (Install “DHT sensor library by Adafruit”)
- Adafruit Unified Sensor library → Required dependency for DHT.
💻 Step 2: The Complete Arduino Code
Here’s the full ESP32 Smart Home Automation code using the Blynk IoT Platform:
/***************************************************
  Project: Smart Home Automation using ESP32 and Blynk IoT
  Board:   ESP32 Development Board
  Author:  YaranaIoT Guru
****************************************************/

#define BLYNK_TEMPLATE_ID "TMPLxxxxxxx"     // Replace with your Template ID
#define BLYNK_DEVICE_NAME "Smart Home ESP32"
#define BLYNK_AUTH_TOKEN  "YourAuthToken"   // Replace with your Blynk Auth Token

#include <WiFi.h>
#include <WiFiClient.h>
#include <BlynkSimpleEsp32.h>
#include "DHT.h"

#define DHTPIN 4
#define DHTTYPE DHT11

DHT dht(DHTPIN, DHTTYPE);

char auth[] = BLYNK_AUTH_TOKEN;
char ssid[] = "YourWiFiName";          // Replace with your WiFi name
char pass[] = "YourWiFiPassword";      // Replace with your WiFi password

// Relay and LED pins
#define Relay1 23  // Light
#define Relay2 22  // Fan
#define Relay3 21  // Socket
#define StatusLED 2

BlynkTimer timer;

// Function to read DHT sensor and send data to Blynk
void sendSensorData() {
  float h = dht.readHumidity();
  float t = dht.readTemperature();

  if (isnan(h) || isnan(t)) {
    Serial.println("Failed to read from DHT sensor!");
    return;
  }

  Blynk.virtualWrite(V5, t);
  Blynk.virtualWrite(V6, h);

  Serial.print("Temperature: ");
  Serial.print(t);
  Serial.print("°C | Humidity: ");
  Serial.print(h);
  Serial.println("%");
}

// Virtual Pins for relays
BLYNK_WRITE(V1) {
  int value = param.asInt();
  digitalWrite(Relay1, value);
  digitalWrite(StatusLED, value);
}

BLYNK_WRITE(V2) {
  int value = param.asInt();
  digitalWrite(Relay2, value);
}

BLYNK_WRITE(V3) {
  int value = param.asInt();
  digitalWrite(Relay3, value);
}

void setup() {
  Serial.begin(115200);
  pinMode(Relay1, OUTPUT);
  pinMode(Relay2, OUTPUT);
  pinMode(Relay3, OUTPUT);
  pinMode(StatusLED, OUTPUT);

  digitalWrite(Relay1, HIGH);
  digitalWrite(Relay2, HIGH);
  digitalWrite(Relay3, HIGH);

  dht.begin();
  Blynk.begin(auth, ssid, pass);

  timer.setInterval(2000L, sendSensorData);

  Serial.println("Connecting to WiFi & Blynk Cloud...");
}

void loop() {
  Blynk.run();
  timer.run();
}
🧠 Step 3: How the Code Works
- Wi-Fi & Blynk Setup:
The ESP32 connects to your Wi-Fi network and authenticates with the Blynk Cloud using your Auth Token. - Relay Control:
Each relay is connected to a virtual pin (V1, V2, V3) on the Blynk dashboard.
When you toggle a button in the app, Blynk sends a digital signal to ESP32, turning ON/OFF the corresponding relay. - Sensor Data Monitoring:
The DHT11 sensor measures temperature and humidity every 2 seconds, sending the values to Blynk usingvirtualWrite(V5, t)andvirtualWrite(V6, h). - Status LED:
The onboard LED glows whenever Relay1 (Light) is active — serving as a live status indicator.
📲 Step 4: Upload & Connect
- Select your board:
Tools → Board → ESP32 Dev Module - Select the correct COM port.
- Paste your Wi-Fi credentials and Blynk Auth Token.
- Upload the code.
- Open Serial Monitor at 115200 baud to check the connection status.
Once connected, the ESP32 will print:
Connecting to WiFi...
WiFi Connected!
Connecting to Blynk Cloud...
Blynk Connected!
Smart Home System Ready!
🔍 Step 5: Real-Time Testing
Now open the Blynk App:
- Tap the Light, Fan, and Socket buttons — your devices should toggle instantly.
- Watch live readings of temperature and humidity update every 2 seconds.
- Turn ON/OFF devices even when you’re outside your home — all through the Blynk Cloud.
This confirms that your ESP32 Smart Home System is fully operational and cloud-connected! ☁️✨
⚡ Troubleshooting Tips
| Issue | Cause | Fix |
|---|---|---|
| ❌ Blynk not connecting | Wrong Auth Token or Wi-Fi issue | Double-check credentials |
| ⚠️ Relays always ON | Inverted logic | Use digitalWrite(pin, HIGH/LOW) correctly |
| 💤 App buttons lag | Weak Wi-Fi signal | Move closer to router |
| 🚫 DHT readings = 0 | Wrong sensor pin | Check wiring and data pin |
🌐 1. System Testing and Validation
Once your code is uploaded successfully and the ESP32 is connected to Wi-Fi + Blynk Cloud, it’s time to verify each function.
✅ Testing Steps
- Open the Blynk App on your smartphone.
- Ensure you’re logged into the same account where your Template is created.
- Tap the Play (▶️) button on the top right corner — this activates the live dashboard.
- Try switching ON/OFF each virtual button (V1, V2, V3):
- Light Relay (V1) → Should turn ON/OFF your bulb or LED.
- Fan Relay (V2) → Controls fan motor or load.
- Socket Relay (V3) → Can power other devices.
- Check the DHT11 readings (V5 & V6) for temperature and humidity updates.
💡 Pro Tip: You can rename each button on the dashboard — like “Living Room Light” or “Bedroom Fan” for clarity.
🔁 2. Real-Time Automation with Blynk IoT
Blynk isn’t just for remote ON/OFF — it also supports automation rules that make your home truly smart.
⚙️ Create Simple Automations
Example:
“Turn ON the fan when temperature exceeds 30°C.”
Steps:
- In the Blynk Dashboard → Open Automations.
- Tap New Automation.
- Set Condition: Virtual Pin V5 (Temperature) > 30°C.
- Set Action: Turn ON Virtual Pin V2 (Fan).
- Save and Activate.
✅ Now your fan automatically switches ON whenever the room gets hot — no manual action needed!
📱 3. Controlling from Anywhere in the World
One of the biggest advantages of using ESP32 with Blynk Cloud is that you can:
- Control your devices remotely (even from another city 🌍).
- Monitor live temperature/humidity data from your phone.
- Check the status of all devices instantly.
There’s no need for port forwarding, static IP, or complex networking — everything happens securely via the Blynk Cloud.
💬 Example Use Case:
You’re outside your home and forgot to turn OFF the light?
Just open the Blynk app → press the Light button → done! 💡
🕒 4. Adding Advanced Features (Optional Enhancements)
Now that your basic automation works perfectly, you can expand your Smart Home System with some amazing add-ons:
| Feature | Description |
|---|---|
| 🌡️ More Sensors | Add LDR for light intensity, PIR for motion detection, or Gas Sensor (MQ2) for safety. |
| 🔊 Voice Control | Connect Blynk with Google Assistant or Alexa via IFTTT or Webhooks. |
| 📆 Scheduling | Use Blynk’s Eventor or Timer Widgets to turn ON/OFF devices automatically at set times. |
| 📶 Offline Mode | Add local control using physical switches or push buttons (connected to GPIO). |
| 🔐 Security Mode | Add password protection or Blynk notifications when motion is detected. |
| ☁️ Firebase Integration | Store sensor data and logs in real-time database for analysis and history. |
These features make your setup future-ready for a full-fledged IoT Smart Home system.
🔔 5. Real-World Applications
Your ESP32 + Blynk setup can be applied in multiple scenarios:
| Application | Description |
|---|---|
| 🏡 Home Automation | Lights, fans, sockets, and AC control from phone or schedule. |
| 🏢 Office Automation | Centralized control of room lights, fans, and attendance systems. |
| 🌾 Smart Agriculture | Control irrigation pumps based on soil moisture and weather. |
| 🏫 IoT Training Projects | Perfect for college projects and IoT learning workshops. |
| 🧠 DIY Innovations | Expand to voice-controlled or AI-integrated automation. |
🧩 6. Troubleshooting Common Issues
| Issue | Cause | Solution |
|---|---|---|
| 🔴 Blynk not connecting | Wrong Wi-Fi credentials or token | Recheck your Wi-Fi name and Auth Token |
| ⚠️ DHT values not updating | Wiring error or loose pin | Verify DHT connection (VCC, GND, Data) |
| 💡 Relay not switching | Wrong GPIO pin or logic inversion | Test with digitalWrite() manually |
| 🕸️ Slow response | Weak internet or heavy network load | Use 2.4GHz Wi-Fi and stable router |
| 💤 App widgets not updating | Virtual pin mismatch | Ensure V-pin numbers match code |
🚀 7. Final Thoughts
You’ve just built your own IoT Smart Home System using ESP32 and the Blynk App — capable of controlling and monitoring home appliances from anywhere in the world. 🌍✨
This project not only introduces you to IoT cloud integration but also teaches automation logic, mobile control, and real-world implementation.
🎯 “With ESP32 and Blynk, you’ve created the foundation of a future-ready smart home ecosystem.”
Now you can:
- Customize your dashboard 🧩
- Expand your devices ⚙️
- Integrate with Alexa / Google Assistant 🗣️
- Or even connect it with Firebase Cloud for full IoT data logging 📊
🔧 Project Summary
| Component | Purpose |
|---|---|
| ESP32 | Main controller with Wi-Fi |
| DHT11 | Temperature & Humidity sensing |
| 3 Relays | Load control (Light, Fan, Socket) |
| Blynk Cloud | Remote access & automation |
| Android App | User interface for control |
📞 Contact YaranaIoT Guru Empowering IoT Innovation | ESP32 | Home Automation | Smart Solutions | 50K+ Community
We’d love to hear from you! Whether it’s IoT project queries, collaborations, tech support, custom PCB design, bulk orders, corporate training, college workshops, or freelance development — we’re just one message away.
✉️ Email (Official)
For detailed inquiries, project support, business collaboration, sponsorships, or documentation: 📩 contact@yaranaiotguru.in 📧 Alternate: support@yaranaiotguru.in ⏳ Response: Within 24 hours (Mon–Sat) 💡 Best for attachments (code, schematics, logs, etc.)
📱 Phone / WhatsApp (24×7 Support)
Instant live help, troubleshooting, project consultation, or order updates: 📞 +91 70527 22734 💬 WhatsApp: Chat Now ⏰ Call Hours: Mon–Sat, 10 AM – 7 PM IST 🚀 Emergency? WhatsApp anytime — reply within 1 hour
🌐 Official Website
Tutorials, code, PDFs, schematics, blogs, free tools & online store: 🔗 www.yaranaiotguru.in 🛒 Shop: yaranaiotguru.in/shop (ESP32 DevKits, Sensors, Relays, Custom PCBs, Project Kits)
▶️ YouTube Channel
Step-by-step IoT builds, live coding, ESP32, Blynk, Node-RED, MQTT, Home Assistant & more: 🔗 Yarana IoT Guru 📺 1,200+ Videos | 52K+ Subs | 5.5M+ Views | 4.8★ Rating 🎥 New Video Every Week — 🔔 Subscribe & Turn On Notifications
🛠 GitHub (100% Open Source)
All codes, Arduino sketches, PlatformIO projects, Node-RED flows, MQTT configs & docs: 🔗 github.com/YaranaIotGuru ⭐ 50+ Repos | 10K+ Stars & Forks
🔥 Top Projects:
- ESP32 WebSocket Real-Time Dashboard
- Smart Home with Blynk & Alexa
- IoT Irrigation System with Soil Moisture
- MQTT + Node-RED + MySQL Logging
- OLED Weather Station with API
Daily reels, quick tips, live builds, student showcases & giveaways: 🔗 @YaranaIoTGuru 📱 10K+ Followers | Reels | Stories | Live Sessions
💼 LinkedIn (Professional Network)
B2B, IoT consulting, training, hiring & partnerships: 🔗 Yarana IoT Guru
🤝 Services Offered:
- Custom IoT Product Development
- Embedded Systems Training
- College Workshops & FDPs
- PCB Design & Prototyping
🐦 Twitter / X
Real-time updates, polls, project launches & community Q&A: 🔗 @YaranaIoTGuru 📢 Follow for instant alerts
🛠 Hackster.io (Project Showcases)
In-depth write-ups, circuits, BOM, code & ratings: 🔗 hackster.io/yaranaiotguru 🏆 50+ Projects | 100K+ Views | Top 5% Creator
📝 Instructables (DIY Guides)
Beginner-friendly step-by-step guides with templates & troubleshooting: 🔗 instructables.com/member/YaranaIoTGuru
🛠 Featured Guides:
- Automatic Plant Watering System
- Voice-Controlled Home Appliances
- WiFi-enabled Temperature Monitor
📚 Medium Blog
Deep-dive articles, trends, tutorials & career tips in embedded systems: 🔗 medium.com/@yaranaiotguru ✍️ 50+ Articles | 15K+ Readers
🛒 Online Store & Kits
Ready-to-use IoT kits, custom PCBs, sensors & merch: 🔗 yaranaiotguru.in/shop 📦 Free Shipping in India above ₹999 💳 Payment: UPI, Card, Wallet, COD
🌟 Community Platforms
| Platform | Link | Purpose |
|---|---|---|
| Telegram Channel | t.me/YaranaIoTGuru | Project files, PDFs, updates |
| Telegram Group | t.me/YaranaIoTCommunity | Peer support, doubts |
| Discord Server | discord.gg/yarana-iot | Live voice help, coding rooms |
| WhatsApp Community | Join Here | Announcements & polls |
🏢 Office & Studio Address
Yarana Studio & Software (Yarana IoT Guru HQ) 📍 Near Rookh Baba Mandir, Umariya Badal Urf Gainda, Allahabad (Prayagraj), Uttar Pradesh – 212507, India ⭐ Google Rating: 5.0 ★ (100+ Reviews)
🕒 Opening Hours: Mon–Sat: 10:00 AM – 5:00 PM Sunday: Closed
🌐 Associated Website: yaranawebtech.in 🗺️ View on Google Maps: Search “Yarana Studio & Software” 📌 Walk-ins welcome | Appointment recommended for project discussions