Step 1: Introduction
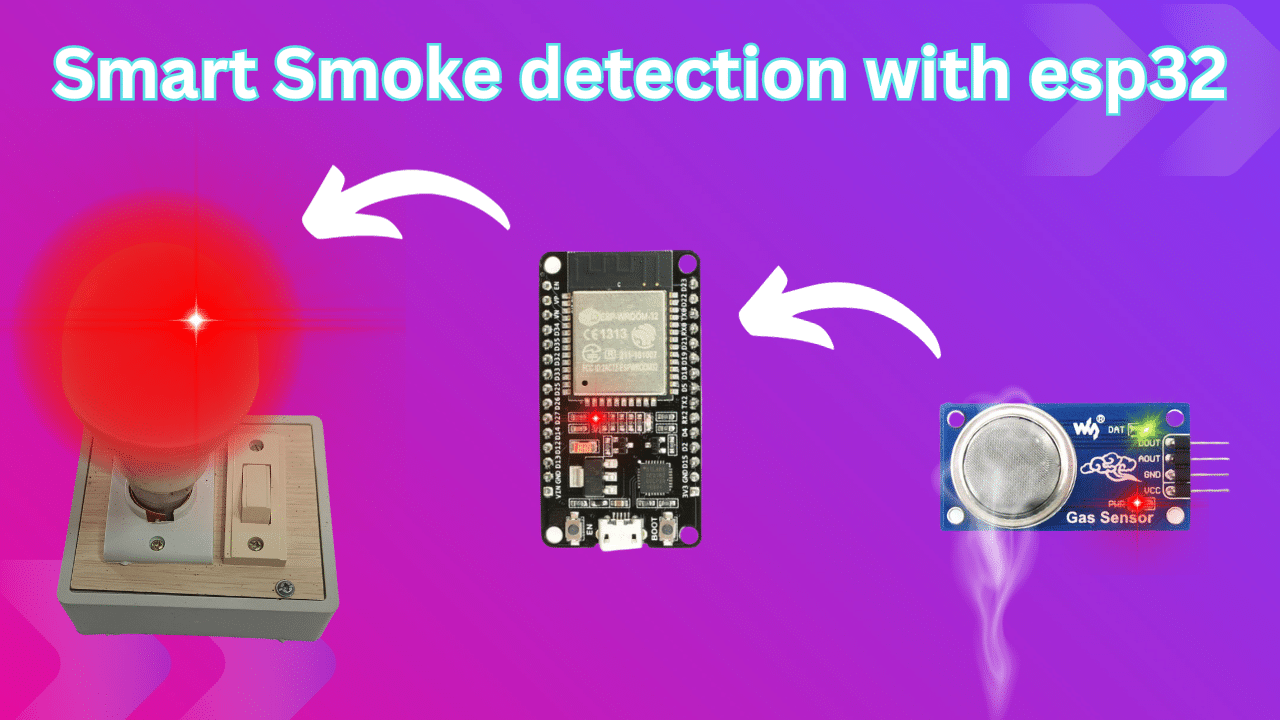
Welcome to our comprehensive DIY IoT project tutorial! In this video, we’ll guide you through the process of creating a smoke detection system using the powerful ESP32 microcontroller, a gas sensor, and an LED indicator. You’ll learn how to wire the components, write the necessary code, and upload it to the ESP32. Plus, we’ll show you how to test and troubleshoot your project, ensuring it functions seamlessly. By the end of this tutorial, you’ll have a valuable skill set for building IoT solutions and enhancing safety in various applications. Let’s get started!
Step 2: Components
- ESP32
- Gas Sensor
- LED
- Breadboard
- Jumper Wires
Step 3: Wiring
Demonstrate how to connect the gas sensor to the ESP32 and how to connect the LED. Use a clear diagram or a breadboard to show the connections.

Step 4: Coding
const int smokeSensor = 4;
const int ledPin = 2; // Pin to turn on when smoke is detected
void setup() {
Serial. begin (9600);
pinMode(ledPin, OUTPUT);
}
void loop() {
int digitalNumber = analogRead (smokeSensor); // Generates a digital number from 0 to 4095
Serial. println(digitalNumber);
// Check if smoke is detected (adjust
if (digitalNumber < 2000) {
digitalWrite(ledPin, HIGH); // Turn on the LED Serial. println("Smoke Detected");
}else {
digitalWrite(ledPin, LOW); //
}
delay(1000);
}
Step 6: Testing
Test the project in action. Release smoke near the gas sensor to trigger it, and demonstrate how the LED turns on when smoke is detected and turns off when it’s not.
Step 7: Troubleshooting
Discuss common issues that viewers might encounter and how to troubleshoot them. This can include issues with wiring, code errors, or sensor calibration.
Step 8: Conclusion
In conclusion, we’ve successfully created a practical and useful project that demonstrates how to use an ESP32 to detect smoke using a gas sensor. By following the steps outlined in this tutorial, you can enhance safety and automation in various applications, such as home security or environmental monitoring.
We’ve covered everything from assembling the components, wiring, coding, uploading the code, testing, and troubleshooting. Remember, this project can be a foundation for even more advanced IoT applications and can be customized to meet your specific needs.
If you have any questions or suggestions, please don’t hesitate to leave a comment below. I hope you found this tutorial informative and enjoyable. If you’d like to see more DIY electronics and IoT projects like this, make sure to subscribe to our channel for future updates.