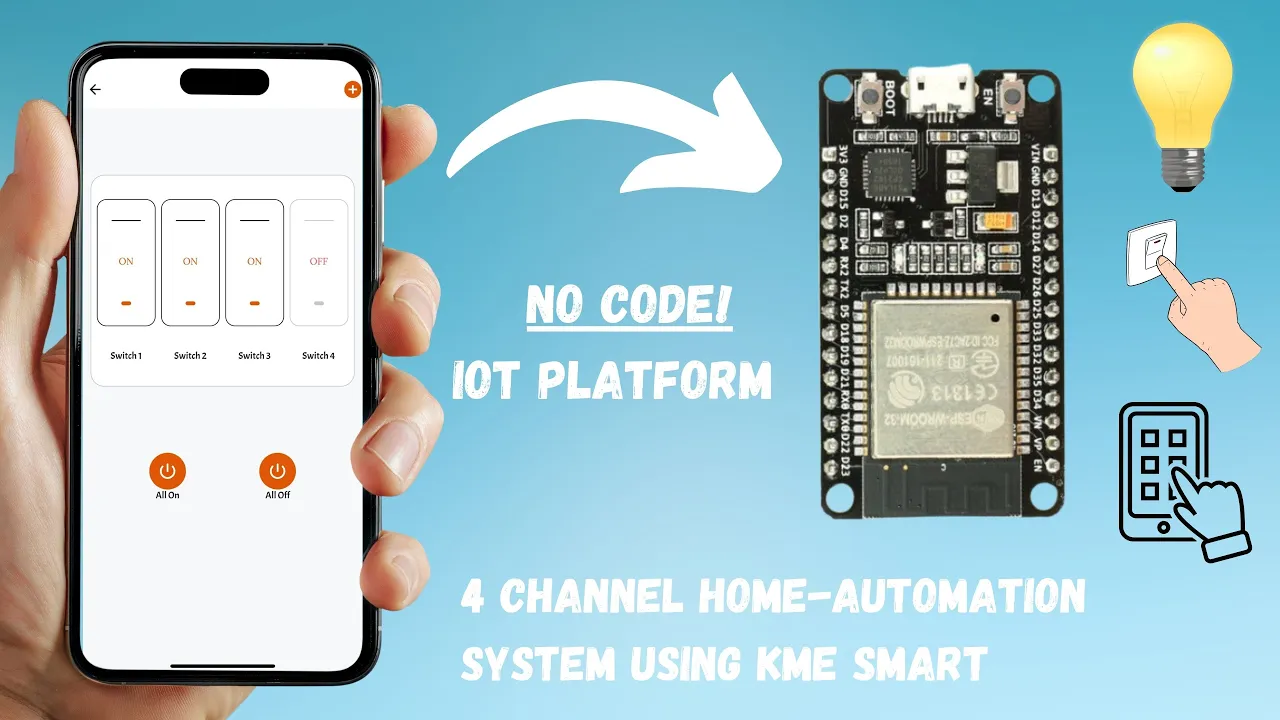
In this project, we will build a Complete Home Automation System using the KME Smart App and ESP32/ESP8266 microcontroller.
This project allows you to control your home appliances (lights, fans, etc.) using your smartphone via Wi-Fi and internet connectivity — no extra cloud setup required!
By the end of this tutorial, you’ll be able to:
- Control multiple devices remotely from your smartphone
- Monitor real-time device status
- Integrate KME Smart App with ESP32 easily
- Expand your system for full smart home control
🧩 Components Required
| Component | Quantity | Description |
|---|---|---|
| ESP32 or ESP8266 | 1 | Wi-Fi microcontroller board |
| 4-Channel Relay Module | 1 | To control appliances |
| Bulb / Fan / LED | As needed | Load devices |
| Jumper Wires | As required | Connections |
| Breadboard | 1 | Circuit setup |
| KME Smart App | 1 | Smartphone control app (Android/iOS) |
| USB Cable | 1 | For programming the board |
🔌 Circuit Diagram
📷 [Insert Circuit Diagram Image Here]
Connections:
- Relay IN1 → GPIO 23
- Relay IN2 → GPIO 22
- Relay IN3 → GPIO 21
- Relay IN4 → GPIO 19
- Relay VCC → 5V
- Relay GND → GND
- Appliances connected to relay outputs
📱 KME Smart App Setup
- Download KME Smart from the Play Store / App Store.
- Create an account and log in.
- Tap “Add Device” → “ESP Module” → “Wi-Fi Mode”.
- Enter your Wi-Fi SSID and Password.
- Get the Device ID and API Key from the KME dashboard.
- Use those credentials in the Arduino code below.
⚙️ ESP32 Arduino Code
#include <WiFi.h>
#include <HTTPClient.h>

const char* ssid = "Your_WiFi_SSID";
const char* password = "Your_WiFi_Password";

// KME Smart Device API Key
String deviceID = "Your_Device_ID";
String apiKey = "Your_API_Key";

int relay1 = 23;
int relay2 = 22;
int relay3 = 21;
int relay4 = 19;

void setup() {
  Serial.begin(115200);
  WiFi.begin(ssid, password);
  Serial.print("Connecting to Wi-Fi");
  while (WiFi.status() != WL_CONNECTED) {
    delay(500);
    Serial.print(".");
  }
  Serial.println("\nConnected to Wi-Fi!");

  pinMode(relay1, OUTPUT);
  pinMode(relay2, OUTPUT);
  pinMode(relay3, OUTPUT);
  pinMode(relay4, OUTPUT);
  digitalWrite(relay1, HIGH);
  digitalWrite(relay2, HIGH);
  digitalWrite(relay3, HIGH);
  digitalWrite(relay4, HIGH);
}

void loop() {
  HTTPClient http;
  String url = "http://kmesmart.com/api/getstatus.php?device=" + deviceID + "&key=" + apiKey;
  http.begin(url);
  int httpCode = http.GET();

  if (httpCode == 200) {
    String payload = http.getString();
    Serial.println(payload);

    // Example JSON: {"relay1":1,"relay2":0,"relay3":1,"relay4":0}
    if (payload.indexOf("\"relay1\":1") > 0) digitalWrite(relay1, LOW); else digitalWrite(relay1, HIGH);
    if (payload.indexOf("\"relay2\":1") > 0) digitalWrite(relay2, LOW); else digitalWrite(relay2, HIGH);
    if (payload.indexOf("\"relay3\":1") > 0) digitalWrite(relay3, LOW); else digitalWrite(relay3, HIGH);
    if (payload.indexOf("\"relay4\":1") > 0) digitalWrite(relay4, LOW); else digitalWrite(relay4, HIGH);
  }

  http.end();
  delay(5000);
}
⚡ How It Works
- The ESP32 connects to your Wi-Fi network.
- It requests the current device status from the KME Smart cloud.
- Based on the received data, relays are turned ON or OFF.
- When you toggle a switch in the KME Smart App, it updates the server, and ESP32 instantly receives the change.
📺 Video Tutorial
🎥 [Embed your YouTube video here]
Use the WordPress “YouTube” block → paste your YouTube video link.
🧠 Features of This Project
- Control up to 4 appliances from your smartphone
- Works via Wi-Fi and Internet
- Real-time feedback and status monitoring
- Expandable to more channels easily
- No need for Blynk or custom cloud
🏁 Conclusion
This Home Automation Project using KME Smart is one of the simplest and most powerful IoT setups.
It combines ease of use with professional-level control over your home devices.
You can easily integrate sensors, timers, or even voice assistants like Alexa and Google Assistant later.


