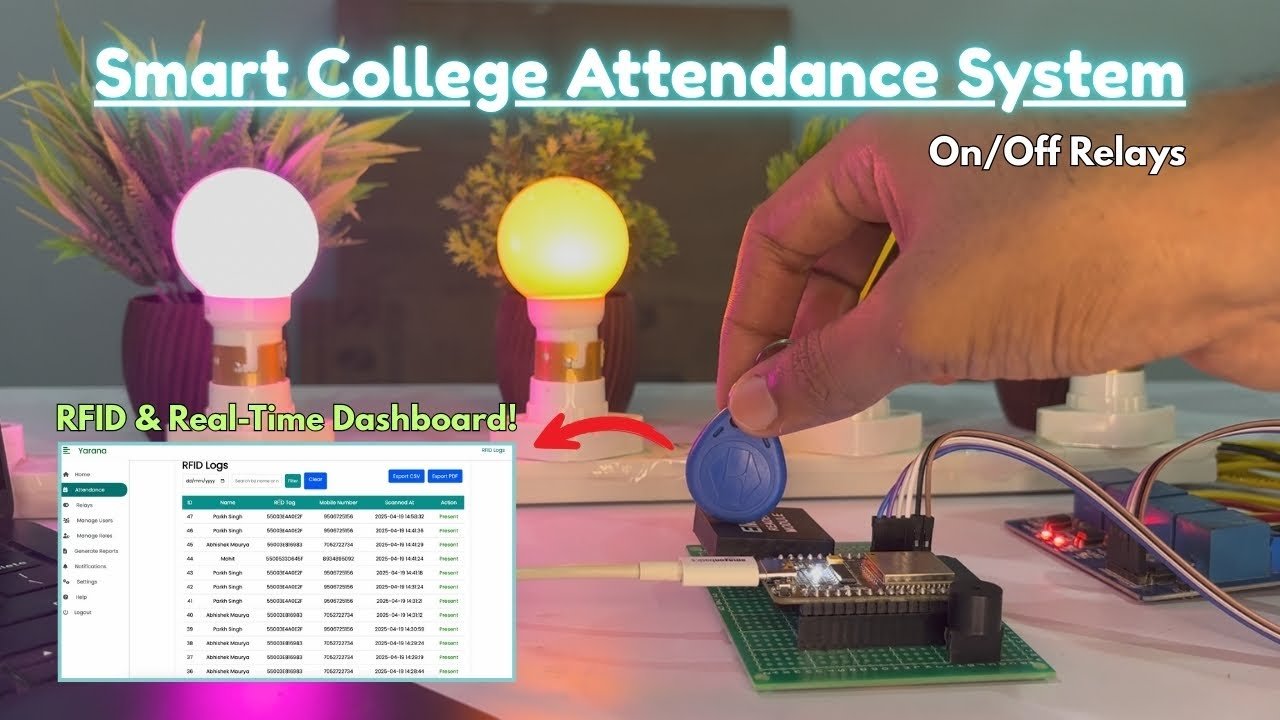
In this tutorial you’ll build a secure college attendance system using an ESP32, RC522 RFID module, and MySQL (PHP REST API). Students present their RFID card/tag to the reader, ESP32 sends the RFID UID to your server via a secure API, and the server logs attendance with student details. This system includes mapping tags to student IDs and basic security (API key, prepared statements).
What you’ll learn
- Map RFID tags to student records in MySQL
- Log attendance (IN/OUT) securely using PHP + MySQL
- Read RFID with ESP32 + MFRC522 module and send to server
- Basic security measures: API key, prepared statements, HTTPS recommendation
Components Required
- ESP32 development board — 1
- RC522 RFID module — 1
- RFID cards/tags — 10+ (as needed)
- Jumper wires & breadboard — as required
- USB cable for ESP32
- Web server with PHP & MySQL (XAMPP / LAMP / remote hosting with HTTPS)
Wiring / Circuit (example)
Typical SPI wiring (adjust pins if needed):
- RC522 SDA/SS → ESP32 GPIO 5
- RC522 RST → ESP32 GPIO 22
- RC522 MOSI → ESP32 GPIO 23
- RC522 MISO → ESP32 GPIO 19
- RC522 SCK → ESP32 GPIO 18
- RC522 VCC → 3.3V
- RC522 GND → GND
Note: Pins can vary per ESP32 board. Use 3.3V for RC522.
MySQL Database Schema
-- create database
CREATE DATABASE attendance_db CHARACTER SET utf8mb4 COLLATE utf8mb4_unicode_ci;

USE attendance_db;

-- students table (map RFID -> student)
CREATE TABLE students (
  id INT AUTO_INCREMENT PRIMARY KEY,
  student_id VARCHAR(50) NOT NULL UNIQUE,
  name VARCHAR(150) NOT NULL,
  rfid_uid VARCHAR(100) NOT NULL UNIQUE,
  created_at DATETIME DEFAULT CURRENT_TIMESTAMP
);

-- attendance log
CREATE TABLE attendance_log (
  id INT AUTO_INCREMENT PRIMARY KEY,
  student_id VARCHAR(50) NOT NULL,
  rfid_uid VARCHAR(100) NOT NULL,
  action ENUM('IN','OUT') DEFAULT 'IN',
  timestamp DATETIME DEFAULT CURRENT_TIMESTAMP,
  ip_addr VARCHAR(45),
  note VARCHAR(255)
);

-- Create a limited DB user for the app (example)
-- GRANT INSERT, SELECT ON attendance_db.* TO 'iot_user'@'localhost' IDENTIFIED BY 'strong_password';
PHP REST API (secure example with prepared statements)
File: insert_attendance.php
<?php
// insert_attendance.php
header('Content-Type: application/json');

// simple API key check (use HTTPS in production)
$EXPECTED_API_KEY = 'REPLACE_WITH_STRONG_API_KEY';
$api_key = isset($_POST['api_key']) ? $_POST['api_key'] : '';

if ($api_key !== $EXPECTED_API_KEY) {
  http_response_code(401);
  echo json_encode(['status'=>'error','message'=>'Unauthorized']);
  exit;
}

$rfid_uid = isset($_POST['rfid_uid']) ? trim($_POST['rfid_uid']) : '';
$action = isset($_POST['action']) ? $_POST['action'] : 'IN';

if (empty($rfid_uid)) {
  http_response_code(400);
  echo json_encode(['status'=>'error','message'=>'Missing rfid_uid']);
  exit;
}

$servername = "localhost";
$username = "iot_user";    // user with limited privileges
$password = "strong_password";
$dbname = "attendance_db";

$conn = new mysqli($servername, $username, $password, $dbname);
if ($conn->connect_error) {
  http_response_code(500);
  echo json_encode(['status'=>'error','message'=>'DB connect failed']);
  exit;
}

// lookup student by RFID
$stmt = $conn->prepare("SELECT student_id, name FROM students WHERE rfid_uid = ?");
$stmt->bind_param("s", $rfid_uid);
$stmt->execute();
$stmt->bind_result($student_id, $name);
if ($stmt->fetch()) {
  $stmt->close();

  // insert log
  $ip_addr = $_SERVER['REMOTE_ADDR'];
  $note = '';
  $ins = $conn->prepare("INSERT INTO attendance_log (student_id, rfid_uid, action, ip_addr, note) VALUES (?, ?, ?, ?, ?)");
  $ins->bind_param("sssss", $student_id, $rfid_uid, $action, $ip_addr, $note);
  if ($ins->execute()) {
    echo json_encode(['status'=>'ok','message'=>'Attendance logged','student_id'=>$student_id,'name'=>$name]);
  } else {
    http_response_code(500);
    echo json_encode(['status'=>'error','message'=>'Insert failed']);
  }
  $ins->close();
} else {
  // unknown tag
  $stmt->close();
  http_response_code(404);
  echo json_encode(['status'=>'error','message'=>'Unknown tag']);
}

$conn->close();
?>
File: get_last_logs.php (example to display logs)
<?php
// get_last_logs.php
header('Content-Type: application/json');
$servername = "localhost";
$username = "iot_user";
$password = "strong_password";
$dbname = "attendance_db";

$conn = new mysqli($servername, $username, $password, $dbname);
if ($conn->connect_error) {
  http_response_code(500);
  echo json_encode(['status'=>'error','message'=>'DB connect failed']);
  exit;
}

$limit = isset($_GET['limit']) ? intval($_GET['limit']) : 50;
$stmt = $conn->prepare("SELECT student_id, rfid_uid, action, timestamp FROM attendance_log ORDER BY timestamp DESC LIMIT ?");
$stmt->bind_param("i", $limit);
$stmt->execute();
$res = $stmt->get_result();
$rows = $res->fetch_all(MYSQLI_ASSOC);
echo json_encode(['status'=>'ok','logs'=>$rows]);
$stmt->close();
$conn->close();
?>
Important: Deploy these files on an HTTPS-enabled server. Keep
REPLACE_WITH_STRONG_API_KEYsecret and rotate periodically.
ESP32 (Arduino) Code — Read RFID & send to server
#include <WiFi.h>
#include <HTTPClient.h>
#include <SPI.h>
#include <MFRC522.h>

#define SS_PIN 5     // SDA
#define RST_PIN 22

const char* ssid = "YOUR_SSID";
const char* password = "YOUR_WIFI_PASSWORD";
const char* serverUrl = "https://yourdomain.com/insert_attendance.php"; // HTTPS recommended
const char* api_key = "REPLACE_WITH_STRONG_API_KEY";

MFRC522 mfrc522(SS_PIN, RST_PIN);

void setup() {
  Serial.begin(115200);
  SPI.begin();         // Init SPI bus
  mfrc522.PCD_Init();  // Init MFRC522
  WiFi.begin(ssid, password);
  Serial.print("Connecting WiFi");
  while (WiFi.status() != WL_CONNECTED) {
    delay(300);
    Serial.print(".");
  }
  Serial.println("\nWiFi connected");
}

String uidToString(MFRC522::Uid uid) {
  String s="";
  for (byte i = 0; i < uid.size; i++) {
    if (uid.uidByte[i] < 0x10) s += "0";
    s += String(uid.uidByte[i], HEX);
  }
  s.toUpperCase();
  return s;
}

void loop() {
  // Look for new card
  if ( ! mfrc522.PICC_IsNewCardPresent()) return;
  if ( ! mfrc522.PICC_ReadCardSerial()) return;

  String uidStr = uidToString(mfrc522.uid);
  Serial.print("Card UID: "); Serial.println(uidStr);

  // prepare POST
  if (WiFi.status() == WL_CONNECTED) {
    HTTPClient http;
    http.begin(serverUrl); // for HTTPS use WiFiClientSecure and set fingerprint/cert
    http.addHeader("Content-Type", "application/x-www-form-urlencoded");

    String postData = "rfid_uid=" + uidStr + "&api_key=" + String(api_key) + "&action=IN";
    int httpResponseCode = http.POST(postData);

    if (httpResponseCode > 0) {
      String response = http.getString();
      Serial.printf("Response code: %d\n", httpResponseCode);
      Serial.println(response);
    } else {
      Serial.printf("Error in POST: %s\n", http.errorToString(httpResponseCode).c_str());
    }
    http.end();
  } else {
    Serial.println("WiFi not connected");
  }

  // wait a bit to avoid multiple reads
  delay(2000);
  mfrc522.PICC_HaltA();
}
Note: For HTTPS on ESP32 you should use
WiFiClientSecureand verify server cert / fingerprint to avoid MITM.
How to map tags to students
- Use the
studentstable to manually add rows:student_id,name, andrfid_uid(UID string from card). - Provide admin UI (optional) on your website to register new tags: scan UID, enter student id/name → insert into students table.
Testing & Debugging
- Open Serial Monitor (115200) to view UIDs read.
- Use Postman to test
insert_attendance.phpmanually: POSTrfid_uid=UID&api_key=... - Check
attendance_logtable for new entries.
Security Best Practices
- Use HTTPS — never send API key over plain HTTP.
- Use strong API keys and rotate periodically.
- DB user with limited privileges (INSERT, SELECT only).
- Prepared statements (already used) to prevent SQL injection.
- Rate limiting on API endpoint to avoid replay/spam.
- Log IP address and timestamps for audits.
- Consider JWT or signed tokens for stronger auth if integrating with mobile apps.
WordPress Post Settings / Blocks (Gutenberg)
- Content type: Post
- Recommended blocks:
- Heading (H2) for main sections
- Paragraph for intro/explanations
- Image block for circuit photos / screenshots
- Table block for Components list or DB schema (or use Markdown table)
- Code block for PHP & ESP32 code (use syntax-highlighting plugin if available)
- Embed → YouTube block (for demo video)
- Shortcode / HTML block if you want to show
get_last_logs.phpoutput via AJAX - Buttons block for downloads (code zip)